/
For many years I have been using ‘Progression Series’ containing images of the same tree over a number of years to illustrate the effect of bonsai techniques over time. This short progression series is intended to show the importance of pruning back nursery stock/garden centre material hard if it is to be used for bonsai.
Many beginners enjoy purchasing and then styling nursery stock into bonsai. However, very often the enthusiast will find it difficult to prune a newly acquired plant sufficiently hard enough, resulting in a spindly looking bonsai with a weak-looking trunk.
Very often the beginner or even intermediate enthusiast will find it difficult to prune a newly acquired plant sufficiently hard enough, resulting in a spindly looking bonsai with a weak-looking trunk. This short progression series is intended to show the importance of pruning back nursery stock/garden centre material hard if it is to be used for bonsai.
Most people will have the basic tools in their sheds to carry out this initial bonsai shaping, so ideally you will need a pruning tool of some description. Those that don’t have access to tool sheds can pick up a pair of Secateurs from any garden centre.
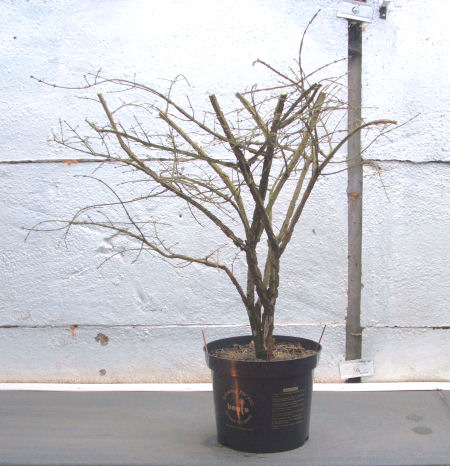
December 2006: This Euonymous alatus/Winged Spindle or Burning Bush was purchased at a local Garden Centre Sale for a couple of pounds. This is quite a typical purchase that one can make from Nurseries and is often made by enthusiasts with the intention of using the stock to make a bonsai.
Here the tree can be seen just after purchase; it is approximately 24″/59cm tall having already been reduced in height by half at the Garden Centre.
The trunkbase is approximately 1.5″/3.5cm thick and looks very thin when compared to the rest of the tree. Ideally to make the trunk look appropriate for a bonsai, I will need to aim for a finished tree height of between 6 and 10 times the diameter of the trunk. As Euonymous is naturally quite a thin-trunked tree in the wild, I will aim for a height 10 times the diameter of the trunk; in this case 15″ or 37cm.
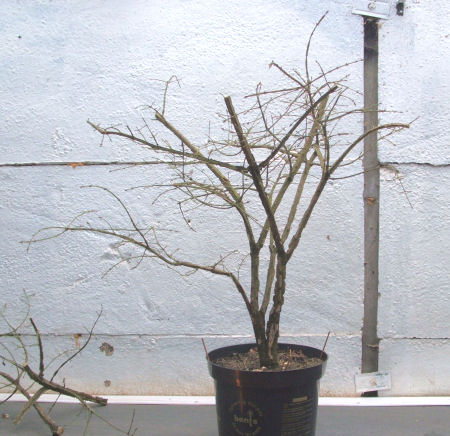
So I start pruning; I need to reduce this tree down to a little less than the final height (this will allow room for me to grow a new canopy/apex in the future)
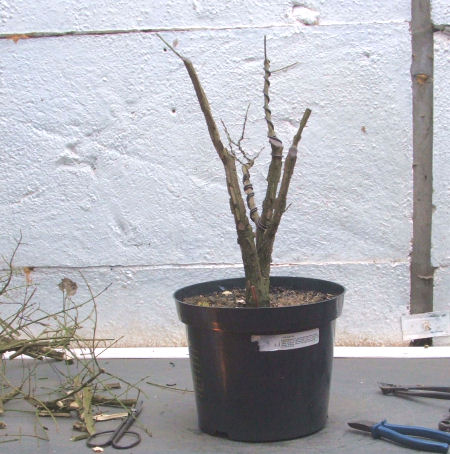
By the time I have reduced the tree’s height down to 12″/29cm there is not much left. Notice that I have also chosen trunklines that taper as much as possible so that the trunklines are as thin near the top.
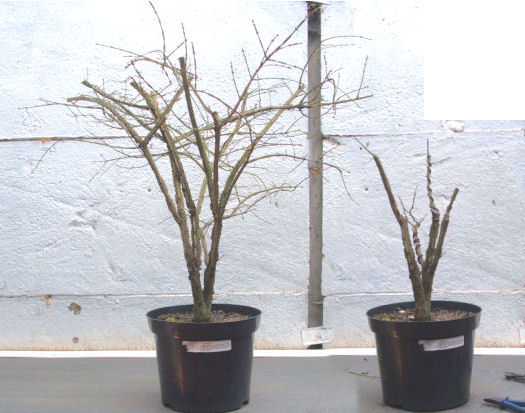
A composite of the before and after images: now it is time to simply wait for the tree to react in Spring by popping new buds all over the trunk and growing out new branches from the resulting shoots.
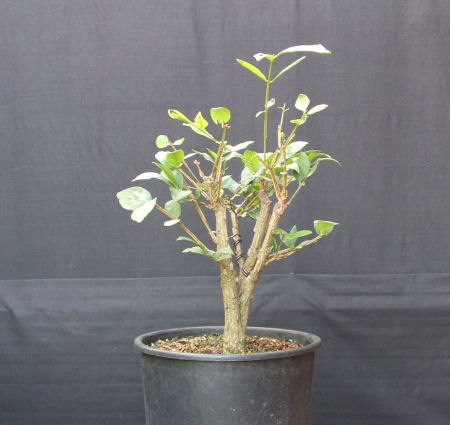
August 2006: After strong growth in Spring and Summer, the tree is pruned back hard again. This process of allowing the tree to grow strongly and then to be pruned back hard is repeated to help build up ramification and density of the branches.
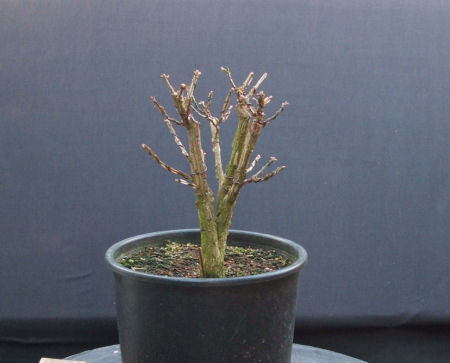
January 2008: 18 months later and the tree has had the growth of 2007 pruned back and styled. Notice that I have also pruned back the trunks as new buds and shoots became available for me to prune to.
.jpg)
July 2008: As each month of growth passes, the tree slowly but steadily fills out.
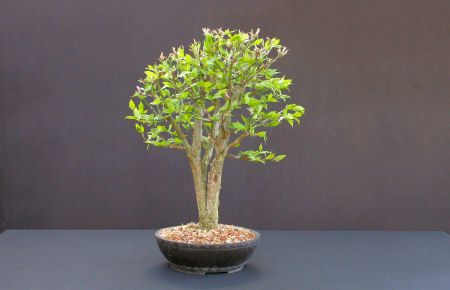
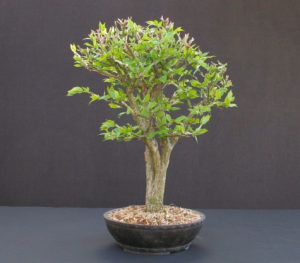
April 2009: The tree has been repotted into a simple round mica pot and has opened its fresh green Spring leaves.
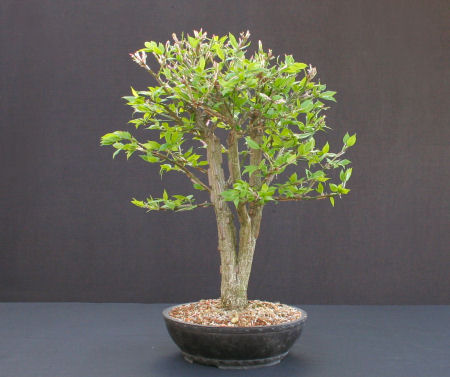
As can be seen in these last images, despite its relatively thin diameter, the trunks now looks powerful and in proportion with the new branches. This could only be achieved by properly pruning the tree when it was orginally purchased and regrowing new branches.
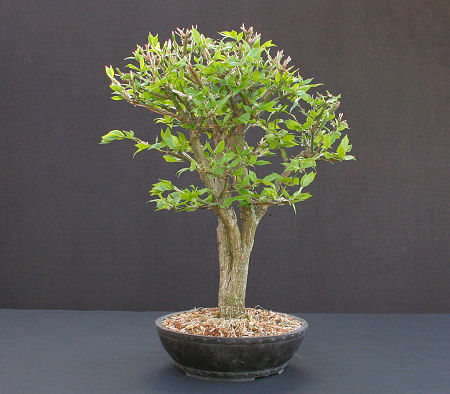
The current height of the tree (slightly taller than originally intended): 16″/39cm
