The subject of this article is a massive Privet/Ligustrum ovalifolium that had been dug up from the ground in August 2009. Belonging to a friend of mine, the tree took two men two days to collect and was immediately planted into a makeshift wooden container measuring over a metre in length.
Estimated as having an age of at least 70-80 years, the Privet had a known history as having been planted many years as part of a boundary hedge in the owner’s garden.
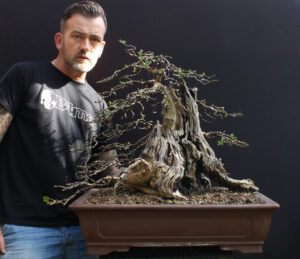
The image above shows the tree when I first saw it in person; as is typical of Privet growing in hedges, it comprised of several trunks that had grown together as they reached a height of over 2 metres in height.
As the tree had been recently collected, I knew that it was important that any superfluous top growth was removed as soon as possible. This ensured that any new buds appearing as a result of the dramatic trunk-chops would not appear on existing wood that would then need to be removed in the future.
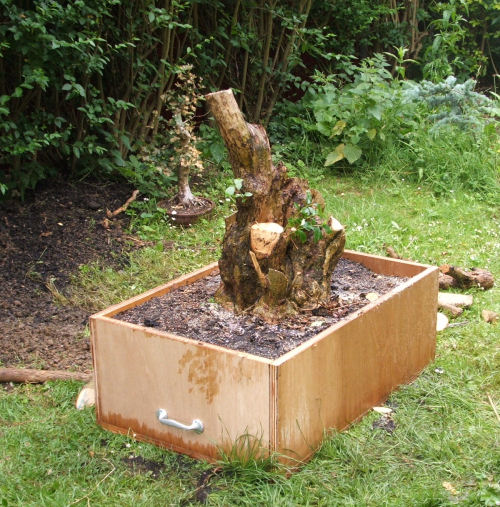
Having studied the privet for a while, I found what I felt was the best front for the tree as a bonsai in the future and proceeded to shape the trunk by removing excess growth with an electric reciprocating saw. At this point in time, the most important aspect of the trunk to consider was its silhouette, ensuring that it had good taper with a wide base that gradually narrowed to the top.
The tree was then left to respond to being collected and heavily chopped. New buds that appeared now would be selected as future branches or removed and the process of branch building would begin. At some time in the future, the trunk would also need a great detail of detail carving to give the appearance of natural deadwood to hide the trunk chops.
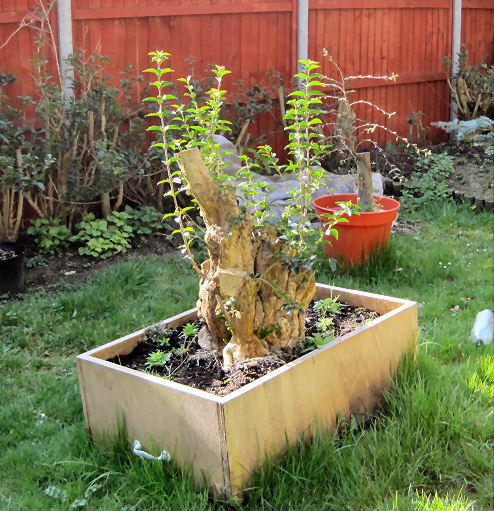
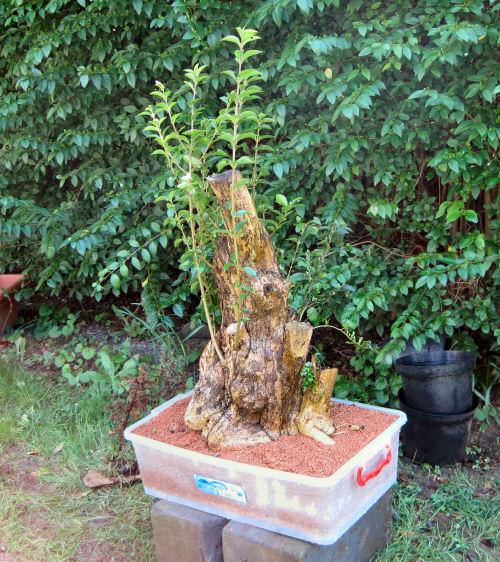
By the Spring of the following year, the tree had responded well and on a previous visit to the owners garden in March I had been able to select the new shoots I felt had a future as branches. These were left unpruned to allow the new shoots to thicken up while invigorating the tree and encouraging root-growth.
However, there was one major problem with the planting as a whole; when the owner had attempted to move the tree and its wooden box to another position in his garden, its sheer weight had meant that even four men had been unable to lift it!
I decided that even though the tree had only been collected and potted up 8 months before, it would be a good idea to remove the heavy soil the tree had been planted into, and also reduce the size of the container.
While disturbance of the roots of a newly-collected tree is not advisable, Privet as a plant species are incredibly tough and the opportunity to provide the tree with an inorganic bonsai soil mix would greatly benefit it long term
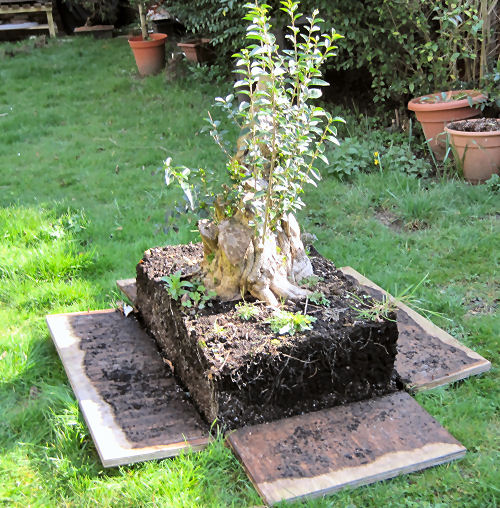
The first step of the repotting process was to unscrew the sides of the box so that I would have access to the roots.
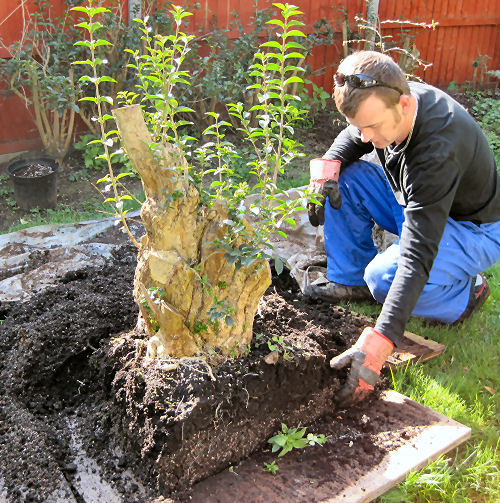
As the tree was so heavy it was still not possible to turn it on its side, even after removal of the sides of the box. So I started reducing the weight of the planting as a whole by removing the excess soil from around the edge of the rootball.
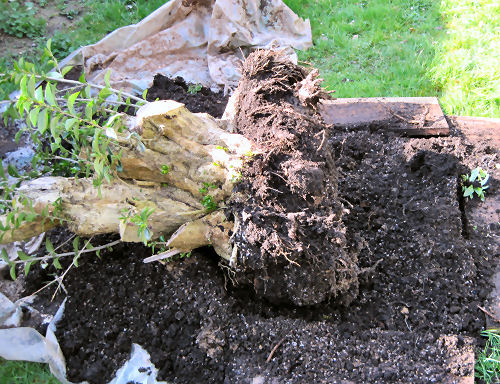
Eventually the tree was light enough to turn onto its side
Though the tree had been planted in quite an ‘open’ organic mix consisting of compost and grit, the tree (understandably given its massive dimensions) had not previously been bare-rooted. This meant that the majority of the rootball was encased in thick, heavy London ground clay (from which they make the infamous London brick!). Not only is this clay incredibly heavy, it is also an extremely difficult medium for roots to grow in, particularly in a container.
I decided that for the long-term health and vigour of the tree, the best course of action would be to bare-root the tree, removing all traces of the ground-clay and replacing it with a lightweight inorganic soil mix.
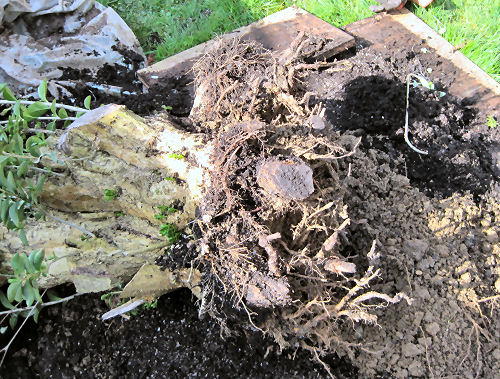
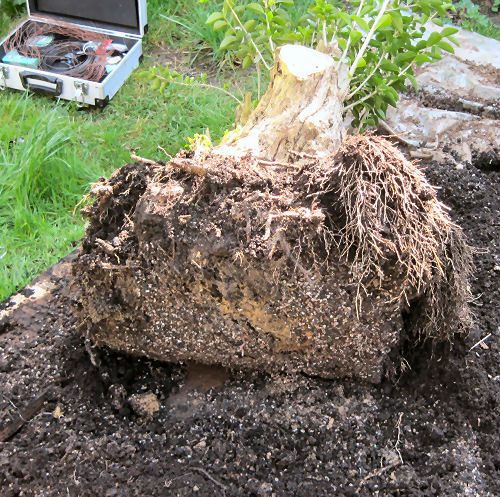
I started to remove the clay from around the roots. Ground-clay can become so compacted that its removal is a difficult job. Using a combination of chop sticks and my fingers (to try and avoid damaging the fine feeding roots within the rootball) the rootball of the Privet was revealed.
As I was able to inspect the rootball itself for the first time I was able to establish that there were many heavy roots (that would have grown previously deep into the ground) that were no longer any use to the tree and these could be removed to reduce the depth of the pot needed for the bonsai and as well as its weight.
Thick roots are only vessels through which moisture passes from the fine feeder roots into the trunk itself and removal of a thick root that carries no fine roots causes negligible harm to the health of the tree. My preference is to reduce the length of thick roots immediately after collection so that when the resulting wound has healed and issued feeder roots, additional stress is not necessary in the future when trying to fit the tree into the relatively shallow confines of a bonsai pot.
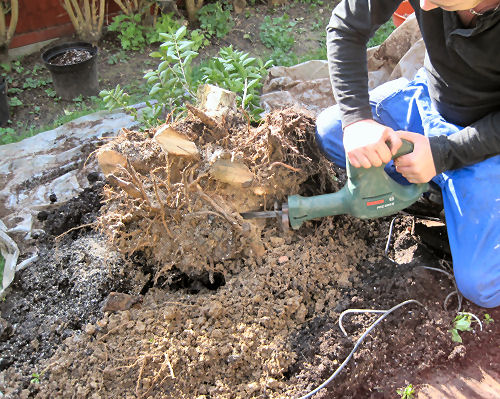
Using an electric reciprocating saw I began to shorten back the heavy roots as far as I could whilst trying to retain any existing feeder roots.
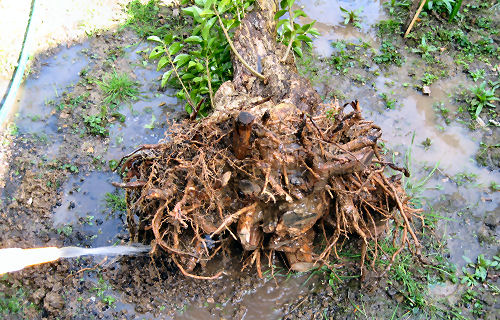
Periodically the rootball was washed with water to help remove more clay from around the rootball. Note that while it is possible to wash the roots of many deciduous/broadleaf plant species, it is not advisable with many coniferous species.
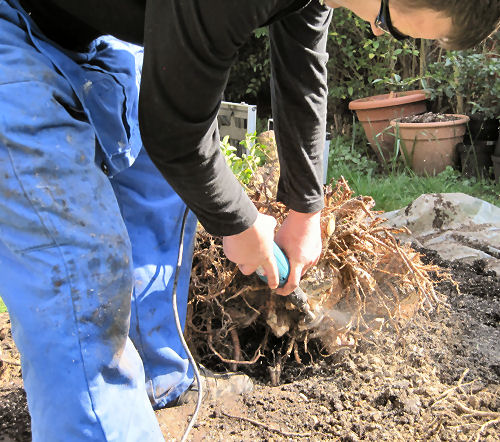
With much of the clay removed I then used a die-grinder to carve down any remaining stumps……
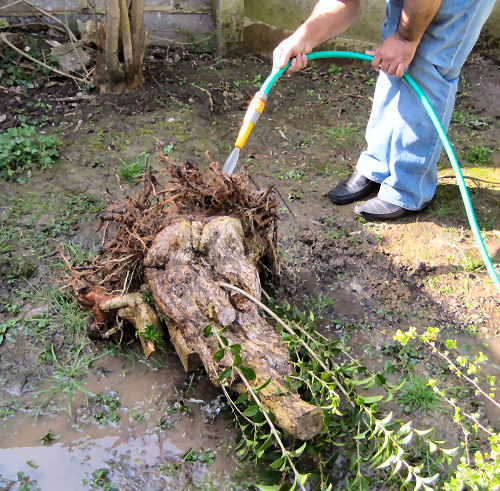
………..before the much shallower rootball was given a final rinse to ensure that all traces of the clay had been removed.
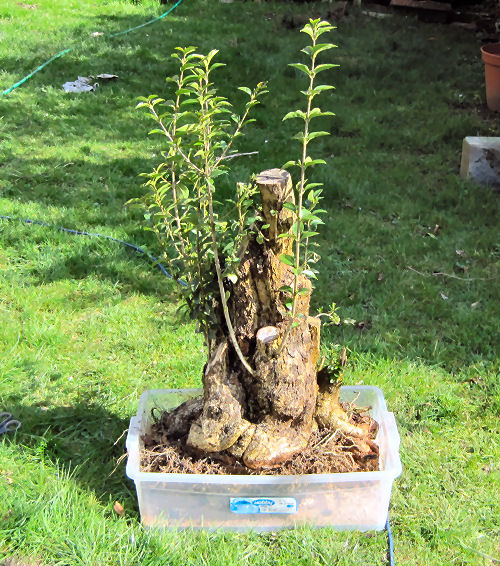
Finding a lightweight container large enough for the tree was problematic until a large plastic container of exactly the right size was found in a local hardware shop!
Finally, litres of bonsai soil were carefully fed into the container ensuring that no air pockets or cavities were left in or around the rootball and then the tree was heavily watered in.
As can be seen, with a trunkbase of approx 60cm by 40cm (25″x16″), the tree was a snug fit in the new container, however it was now possible for two people to lift and carry the tree around. And with a good quality soil mix, the tree would be able to develop with added vigour.
Having heavily pruned back the thick roots, once the tree is ready for its first bonsai pot it will be possible to simply transfer it into its new home!